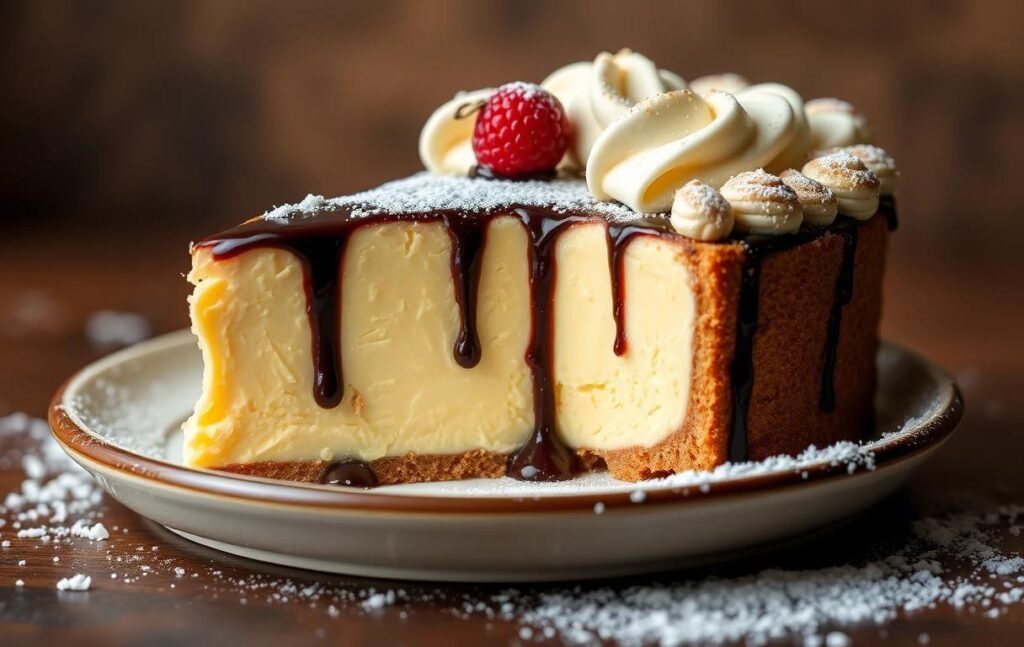
boston cream pie near me
1. History of Boston Cream Pie
Boston cream pie is a dessert steeped in history and tradition. It was first created in the mid-1800s at the Parker House Hotel in Boston, Massachusetts (now known as the Omni Parker House). The chef, inspired by French pastry techniques, layered sponge cake with custard and topped it with chocolate, crafting a dessert that would become an enduring favorite. Despite its name, this dessert is not a pie but rather a cake. The term “pie” stems from a time when cakes and pies were baked in the same types of pans, and the terms were used interchangeably.
Over time, Boston cream pie gained fame as a quintessential American dessert. In 1996, it was even designated the official dessert of Massachusetts, solidifying its place in culinary history. The combination of textures—light sponge cake, creamy custard, and rich chocolate glaze—makes it a timeless treat.
2. Significance in American Cuisine
Boston cream pie represents more than just a dessert; it’s a symbol of innovation in American baking. Its simple yet sophisticated flavor profile reflects the melding of European culinary influences with American tastes. As a testament to its versatility, the dessert has inspired numerous variations, including cupcakes, donuts, and even ice cream flavors. It is often served at celebrations and special occasions, cherished for its elegance and balance of flavors.
Ingredients and Equipment for Boston Cream Pie
To make a delectable Boston cream pie, it’s essential to gather high-quality ingredients and the right kitchen tools. Here’s a complete list to ensure you’re fully prepared.
1. Ingredients
For the Sponge Cake:
- All-purpose flour: 1 ½ cups (plus extra for dusting pans) – Provides structure to the cake.
- Baking powder: 1 ½ teaspoons – Helps the cake rise.
- Salt: ½ teaspoon – Enhances flavor.
- Unsalted butter: ½ cup (1 stick, softened) – Adds richness and moisture.
- Granulated sugar: 1 cup – Sweetens the cake.
- Eggs: 2 large – Bind the ingredients and add fluffiness.
- Vanilla extract: 1 teaspoon – Adds a warm, aromatic flavor.
- Whole milk: ¾ cup – Moistens the batter and adds a creamy texture.
For the Pastry Cream (Custard Filling):
- Whole milk: 2 cups – Forms the base of the custard.
- Granulated sugar: ½ cup – Sweetens the cream.
- Egg yolks: 4 large – Thickens and enriches the custard.
- Cornstarch: 3 tablespoons – Helps stabilize the custard.
- Salt: A pinch – Balances the sweetness.
- Unsalted butter: 2 tablespoons – Adds a silky finish.
- Vanilla extract: 1 teaspoon – Infuses the cream with flavor.
For the Chocolate Glaze:
- Semi-sweet chocolate chips: 1 cup – Provides a rich, chocolatey finish.
- Heavy cream: ½ cup – Creates a smooth, pourable consistency.
- Corn syrup (optional): 1 teaspoon – Adds shine to the glaze.
2. Necessary Kitchen Tools
To achieve a professional-quality Boston cream pie, ensure you have the following tools:
For the Cake:
- Two 9-inch round cake pans: For baking the sponge layers evenly.
- Mixing bowls: At least two large bowls for wet and dry ingredients.
- Electric mixer or whisk: For creaming the butter and sugar and incorporating air into the batter.
- Rubber spatula: For scraping down the sides of the bowl.
- Measuring cups and spoons: For accurate measurements.
For the Pastry Cream:
- Medium saucepan: To cook the custard over low heat.
- Whisk: For stirring the custard to prevent lumps.
- Fine mesh sieve: For straining the custard to ensure a smooth texture.
- Plastic wrap: To cover the custard and prevent a skin from forming.
For the Chocolate Glaze:
- Heatproof bowl: To melt the chocolate over a double boiler or in the microwave.
- Small saucepan: To heat the cream for the glaze.
- Offset spatula or spoon: For spreading the glaze evenly over the cake.

Tips for Preparation
- Room temperature ingredients: Ensure butter, eggs, and milk are at room temperature for a smooth batter.
- Prepping the pans: Grease and flour the cake pans thoroughly to prevent sticking.
- Chilling the custard: Allow the pastry cream to cool completely before assembly.
Preparing the Sponge Cake for Boston Cream Pie
The sponge cake is the foundation of Boston cream pie. Achieving the right texture—light, airy, and moist—requires careful preparation. Follow these detailed steps to create the perfect base.
Step 1: Preheat the Oven and Prepare the Pans
- Preheat the oven: Set it to 350°F (175°C) to ensure even baking.
- Prepare the pans:
- Grease two 9-inch round cake pans with butter or nonstick spray.
- Dust the pans lightly with flour and tap out the excess.
- Line the bottoms with parchment paper for easy release.
Step 2: Mix the Dry Ingredients
- In a medium mixing bowl, whisk together:
- 1 ½ cups all-purpose flour
- 1 ½ teaspoons baking powder
- ½ teaspoon salt
- Set aside this dry mixture for later.
Step 3: Cream the Butter and Sugar
- In a large mixing bowl, combine:
- ½ cup unsalted butter (softened)
- 1 cup granulated sugar
- Using an electric mixer or a hand whisk, beat the mixture on medium speed until it becomes light and fluffy, about 3-4 minutes.
- This step incorporates air, giving the cake a tender texture.
Step 4: Add Eggs and Vanilla
- Crack in 2 large eggs, one at a time, mixing well after each addition.
- The batter should look smooth and creamy.
- Stir in 1 teaspoon vanilla extract to infuse the batter with flavor.
Step 5: Alternate Wet and Dry Ingredients
- Reduce the mixer speed to low.
- Add the dry mixture to the butter mixture in three additions, alternating with:
- ¾ cup whole milk, added in two portions.
- Begin and end with the dry ingredients. This helps prevent overmixing and keeps the batter light.
- Mix until just combined.
- Be careful not to overmix, as it can make the cake dense.
Step 6: Divide and Bake the Batter
- Evenly divide the batter between the prepared pans.
- Use a spatula to smooth the tops for an even rise.
- Place the pans in the preheated oven and bake for 25–30 minutes.
- Test for doneness by inserting a toothpick into the center of each cake. If it comes out clean, the cakes are ready.
- Remove the pans from the oven and let them cool on a wire rack for 10 minutes.
Step 7: Release and Cool the Cakes
- Run a knife around the edges of the pans to loosen the cakes.
- Carefully invert the cakes onto the wire rack and peel off the parchment paper.
- Let them cool completely before assembling the Boston cream pie.
Tips for Success

- Measure accurately: Use a kitchen scale if available to measure flour for consistent results.
- Room temperature ingredients: Ensure the butter, eggs, and milk are not cold. This helps them blend more easily.
- Avoid overbaking: Keep a close eye on the cakes in the last few minutes to prevent them from drying out.
Making the Pastry Cream for Boston Cream Pie
The pastry cream, or custard filling, is the luscious middle layer of a Boston cream pie. It adds a rich, velvety texture and a burst of flavor to the dessert. Follow these steps carefully to create a smooth and flavorful pastry cream.
Step 1: Gather and Measure Ingredients
To make the pastry cream, you’ll need the following:
- 2 cups whole milk
- ½ cup granulated sugar
- 4 large egg yolks
- 3 tablespoons cornstarch
- Pinch of salt
- 2 tablespoons unsalted butter
- 1 teaspoon vanilla extract
Step 2: Heat the Milk
- In a medium saucepan, heat 2 cups of whole milk over medium heat.
- Bring it just to a simmer, with small bubbles forming around the edges of the pan.
- Avoid boiling, as this can scorch the milk.
Step 3: Whisk the Egg Mixture
- While the milk is heating, combine the following in a medium mixing bowl:
- 4 large egg yolks
- ½ cup granulated sugar
- 3 tablespoons cornstarch
- Pinch of salt
- Whisk the mixture vigorously until it is pale yellow and smooth.
- The cornstarch should dissolve completely, preventing lumps in the pastry cream.
Step 4: Temper the Egg Mixture
- Slowly pour about ½ cup of the hot milk into the egg mixture while whisking constantly.
- This step is called tempering and prevents the eggs from curdling.
- Gradually whisk the tempered egg mixture back into the saucepan with the remaining milk.
Step 5: Cook the Custard
- Return the saucepan to medium heat and cook the mixture, whisking constantly.
- After a few minutes, the custard will thicken and begin to bubble.
- Continue whisking for an additional 1–2 minutes to ensure the cornstarch is fully cooked.
- Remove the saucepan from the heat.
Step 6: Add Butter and Vanilla
- Stir in 2 tablespoons of unsalted butter and 1 teaspoon of vanilla extract.
- The butter gives the pastry cream a silky texture, while the vanilla adds depth of flavor.
- Mix until the butter is fully melted and incorporated.
Step 7: Strain and Cool
- To ensure a perfectly smooth pastry cream, strain it through a fine mesh sieve into a clean bowl.
- Press a piece of plastic wrap directly onto the surface of the cream.
- This prevents a skin from forming as it cools.
- Allow the pastry cream to cool to room temperature, then refrigerate it for at least 2 hours until fully chilled.
Tips for Success
- Constant whisking: Prevents the custard from sticking to the bottom of the pan or developing lumps.
- Avoid overcooking: Once thickened, remove the custard promptly to prevent a grainy texture.
- Strain for smoothness: Straining ensures a creamy and lump-free consistency.
Crafting the Chocolate Glaze and Assembling the Boston Cream Pie
Now that you’ve prepared the sponge cake and pastry cream, the final components are the glossy chocolate glaze and the assembly of the Boston cream pie. The glaze adds richness and an elegant finish to this classic dessert.
Step 1: Prepare the Chocolate Glaze
Ingredients
- 1 cup semi-sweet chocolate chips
- ½ cup heavy cream
- 1 teaspoon corn syrup (optional, for added shine)
Instructions
- Heat the Cream:
- In a small saucepan, heat ½ cup heavy cream over medium heat until it begins to simmer. Avoid boiling.
- Melt the Chocolate:
- Place 1 cup semi-sweet chocolate chips in a heatproof bowl.
- Pour the hot cream over the chocolate and let it sit for 2 minutes to soften the chocolate.
- Mix Until Smooth:
- Gently whisk the chocolate and cream together until fully melted and smooth.
- Stir in 1 teaspoon corn syrup if using, for a glossy finish.
- Cool Slightly:
- Allow the glaze to cool for a few minutes so it thickens slightly but is still pourable.
Step 2: Assemble the Boston Cream Pie
- Prepare the Bottom Layer:
- Place one sponge cake layer on a serving plate or cake stand.
- Ensure the top is level; trim it slightly if needed.
- Spread the Pastry Cream:
- Spoon the chilled pastry cream onto the cake layer, spreading it evenly to the edges using an offset spatula.
- Aim for a thick, even layer to provide balance to the dessert.
- Add the Top Layer:
- Gently place the second sponge cake layer on top of the pastry cream.
- Ensure the layers are aligned and press down lightly to secure them.
- Pour the Chocolate Glaze:
- Starting in the center, pour the chocolate glaze over the top layer, allowing it to flow naturally to the edges.
- Use a spatula to spread the glaze evenly and let it drip down the sides for a polished look.
Step 3: Let It Set
- Transfer the assembled Boston cream pie to the refrigerator and let it chill for at least 1 hour. This allows the layers to set and makes slicing easier.

Tips for Assembly Success
- Level layers: Trim the sponge cake for an even, professional appearance.
- Work quickly with glaze: The chocolate glaze will set as it cools, so spread it promptly.
- Chill before serving: A chilled Boston cream pie is easier to slice and serve.
Serving Suggestions
- Slice the Boston cream pie with a sharp knife, wiping the blade clean between cuts for neat slices.
- Garnish each slice with a dollop of whipped cream or fresh berries for added elegance.
- Serve chilled with a cup of coffee, tea, or milk.
Variations and Adaptations
- Mini Boston Cream Pies:
- Use cupcake molds to create individual servings.
- Gluten-Free Version:
- Substitute the all-purpose flour with a gluten-free blend.
- Lighter Option:
- Use low-fat milk in the pastry cream and a thinner layer of glaze.
FAQs
- Why is it called a “pie”?
- The term “pie” was historically used for cakes baked in pie tins, a common practice in the 19th century.
- How long does Boston cream pie last?
- It can be stored in the refrigerator for up to 3 days, covered to prevent drying.
- Can I freeze it?
- Yes, freeze the unassembled components (sponge cake and pastry cream) separately for up to 1 month. Avoid freezing the assembled pie to maintain the texture.
- What’s the difference between Boston cream pie and a cream pie?
- Boston cream pie is a cake filled with custard, while cream pies are typically pie crusts filled with custard or pudding.
- Can I use store-bought components?
- Yes, pre-made cake layers, custard, and glaze can save time while still delivering delicious results.
Boston cream pie is a masterpiece of flavor and texture, combining light sponge cake, creamy custard, and a rich chocolate glaze. Whether you stick to the traditional recipe or explore creative variations, this dessert is sure to impress family and friends. By following this detailed guide, you’ve not only recreated a classic but also celebrated a piece of American culinary history.
for mor recipes
Chocolate Chip Banana Bread
Vegan Buddha Bowl
Spicy Shrimp Tacos with Mango Salsa
Creamy Garlic Parmesan Chicken

